Creating an EC2 Instance

To launch an instance on AWS, follow these steps:
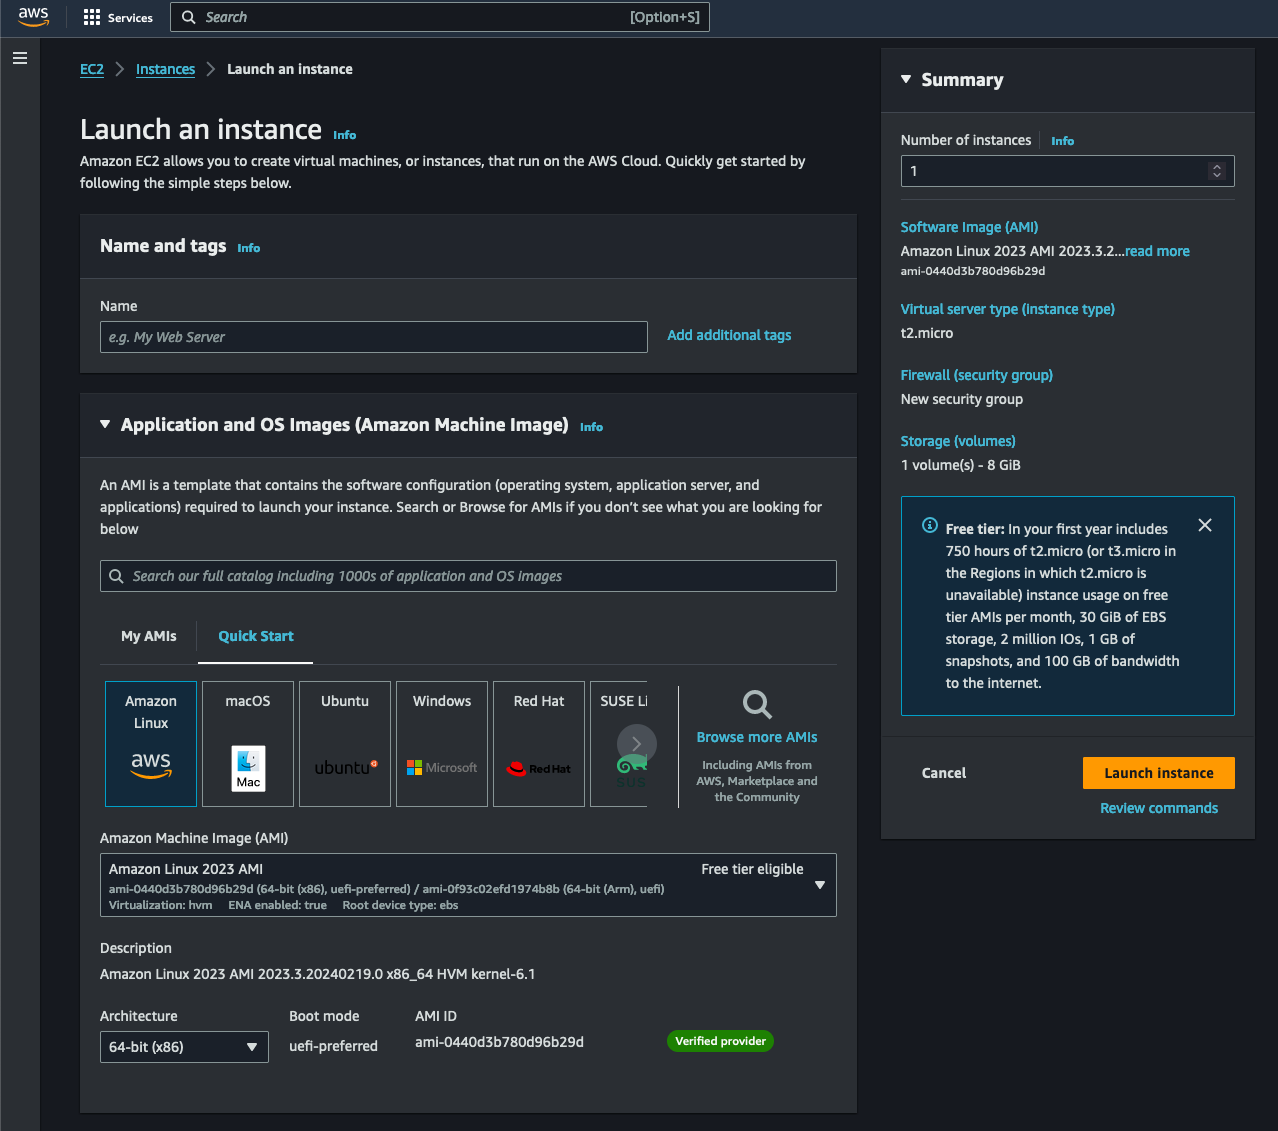
1. Navigate to the Services menu on the top left of the dashboard.
2. Choose Compute, then EC2, and then Instances.
3. Click on Launch Instances on the top right.
4. Name your server and select an Amazon Machine Image (AMI).
5. You can select an operating system (OS) type before choosing an AMI specific to your chosen OS.
6. Once you've selected an AMI, you can choose either an Intel-based CPU architecture, which is commonly used and offers a wide range of software compatibility, or an Advanced RISC Machines (Arm)-based CPU architecture, which is known for its energy efficiency and is licensed to companies like Apple.
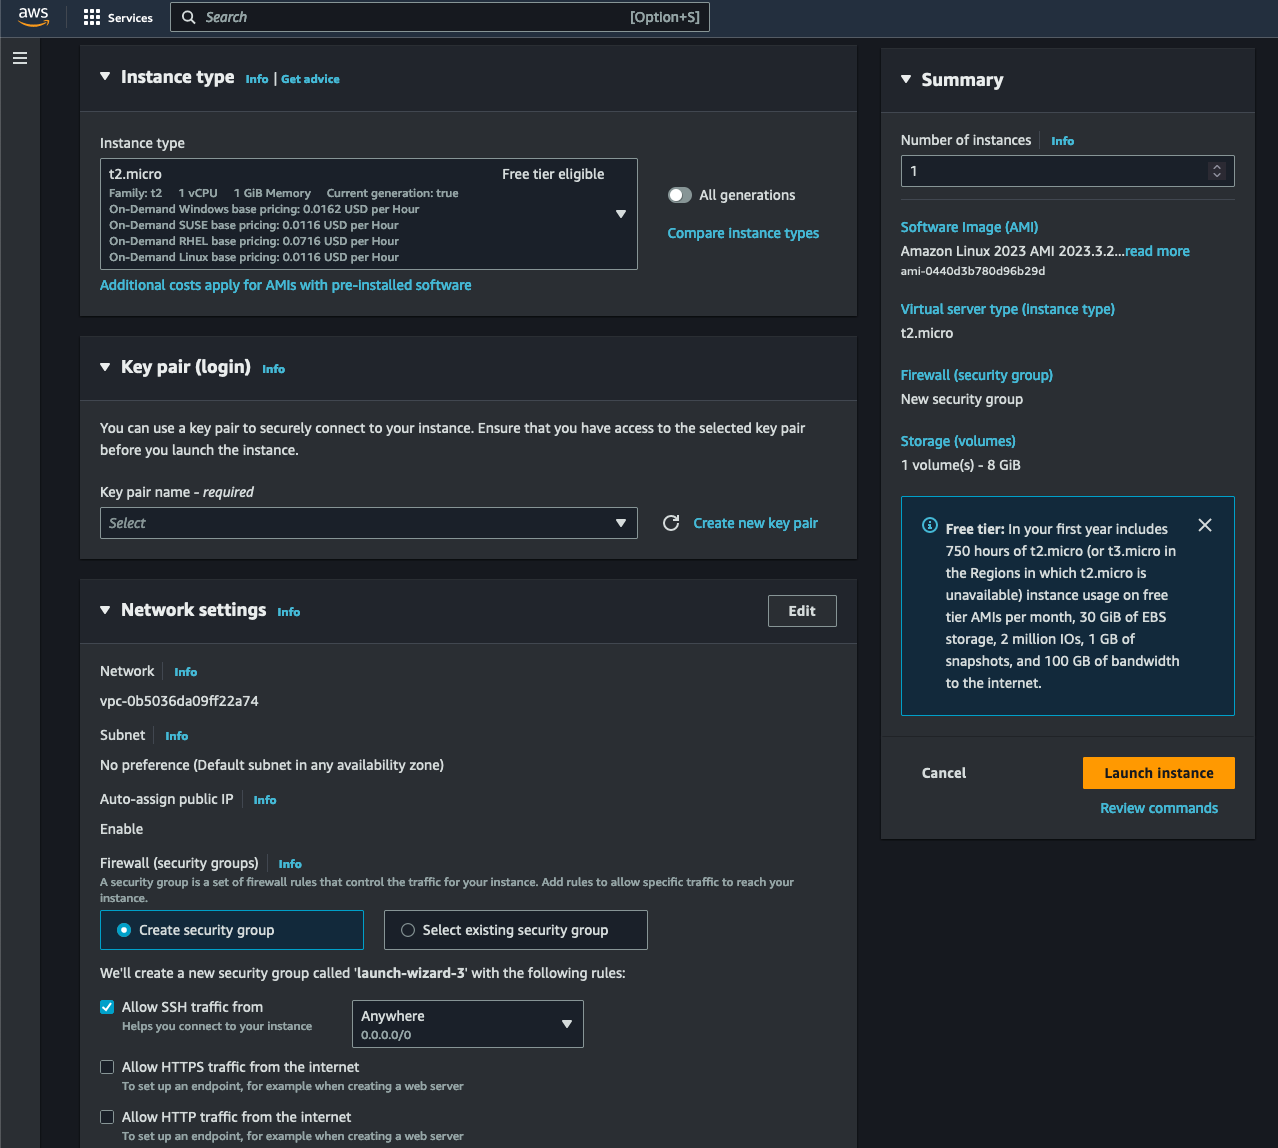
- Choose an instance type that matches your computing, memory, networking, or storage needs. Your instance type will determine the server's hardware capacity and resources. It's a crucial decision that impacts the performance and cost of running your instance. If you need assistance making this decision, click the "Get advice" hyperlink next to "Info."
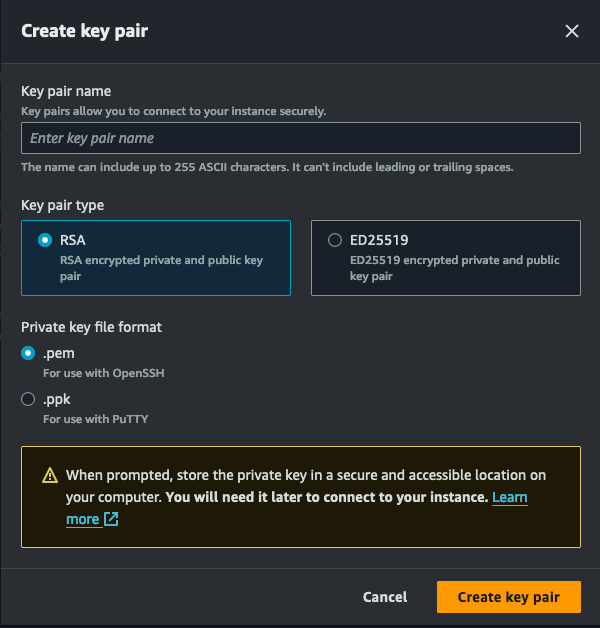
- Choose a key pair once you have selected your instance type. A key pair is a set of cryptographic keys AWS uses to authenticate and secure your connection to your instance. It consists of a public key that AWS stores and a private key that you store. The private key is required to connect to your instance securely. Remember, you're in control of your security, so store your key pair in a safe and easily accessible location before launching your instance. If you are not using Windows instances, I recommend selecting RSA. For the private key format, you can use .pem unless you are using older operating systems such as Windows 7 or 8.
- After selecting your key pair, it's time to choose a security group under Network settings. A security group is a virtual firewall that controls inbound and outbound traffic for your instance. It acts as a barrier that allows or blocks traffic based on the rules you define. Inbound rules control incoming traffic to your instance, while outbound rules control outgoing traffic from your instance. You can assign one or more security groups to your instance. If you assign multiple security groups, all rules will be evaluated to regulate inbound and outbound traffic. If no value is specified, the value of the source template will be used. If the template value is not specified, the default API value will be used. I recommend selecting the "Allow SSH traffic from" option and specifying an IP address to connect to your instance securely for remote configuration.
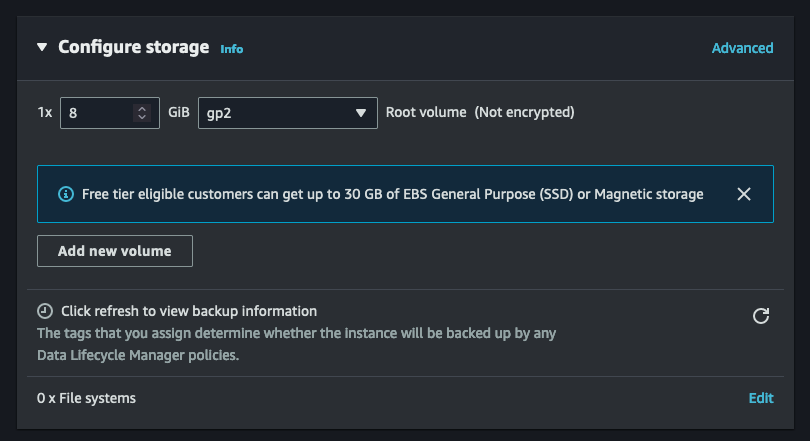
- You now have the option to specify the storage preferences for the instance.
11. Navigate to User Data under Advanced Details and paste the script below, which will deploy an Apache Web Server with a basic web page.
#!/bin/bash
# Use this for your user data (script from top to bottom)
# install httpd (Linux 2 version)
yum update -y
yum install -y httpd
systemctl start httpd
systemctl enable httpd
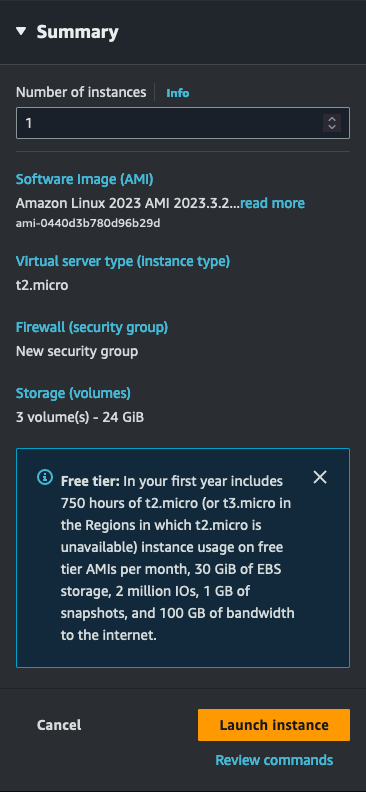
echo "<h1>Creating an EC2 $(hostname -f)</h1>" > /var/www/html/index.html- Enter the number of instances you want to launch. You can specify more than one instance for launch, but all will use the same configuration. It's best to break up large requests into smaller batches to launch instances faster. An example would be creating five separate launch requests for 100 instances each instead of one for 500 instances. Once you've verified everything, select the "Launch Instance" button.
- You can select the specific instance you've launched to view networking and other details.
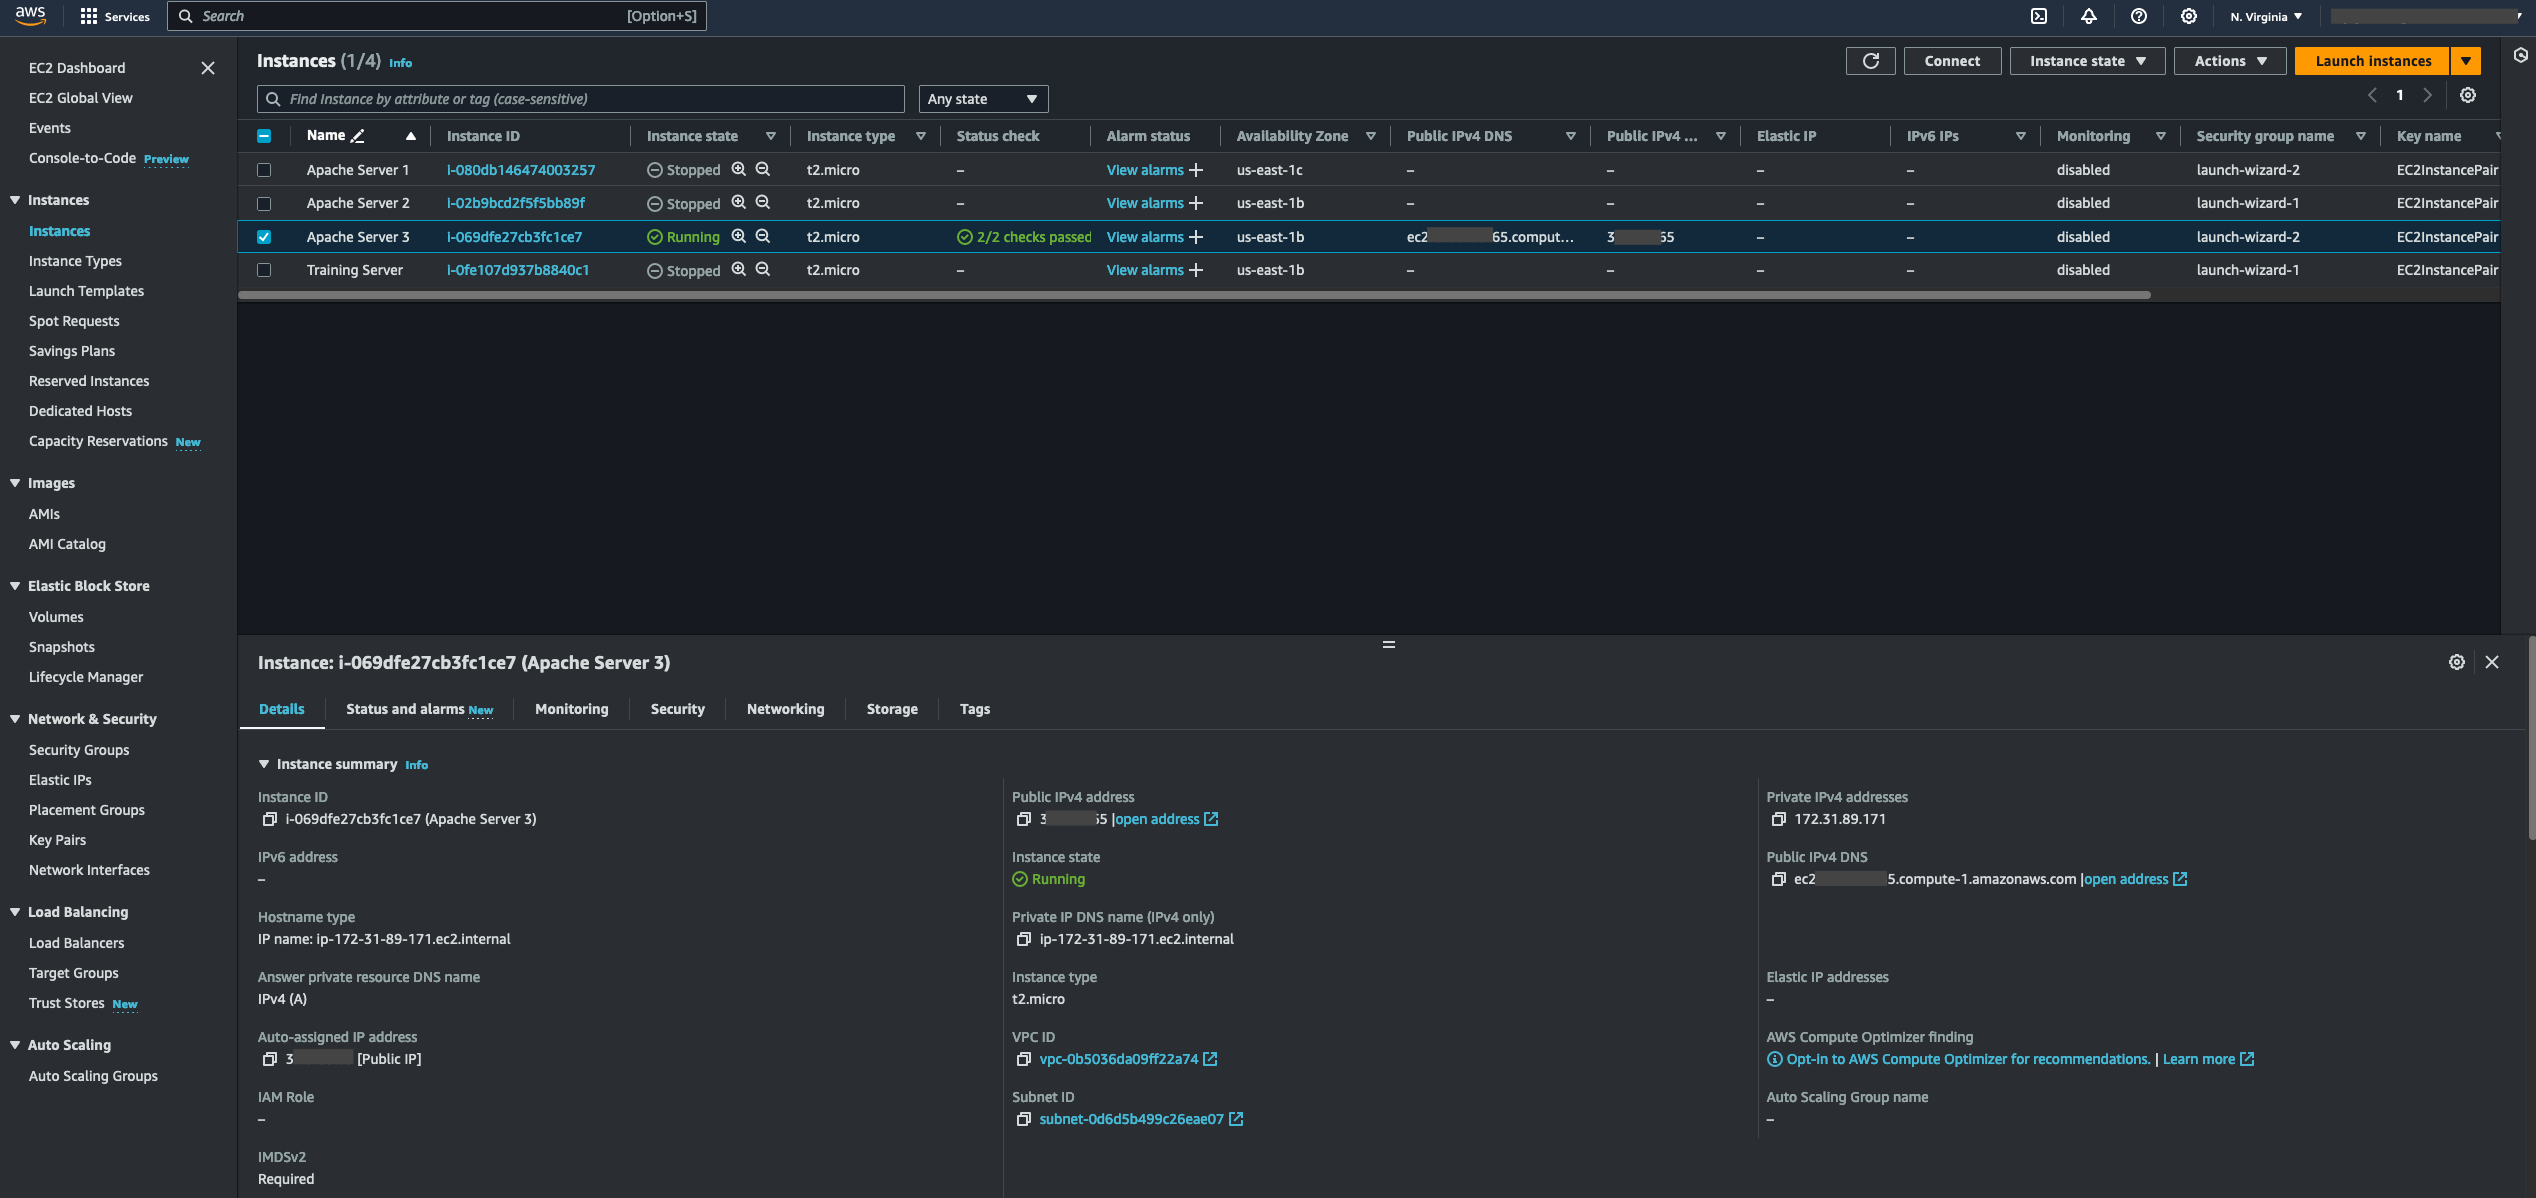
- Copy and paste the instance's public IP onto a new tab to test. You should now see your Apache Web Server with a basic web page.


